Location hierarchy and tiers
Locations follow a four-tier containment structure based on indoor mapping standards:- Site (Tier 0): Top level campus, precinct, or geographic area. Must be a root location with no parent.
- Facility (Tier 1): Building, car park, yard, or outdoor area sitting within a site or at the top level. Supported facility categories include Building, Car Park, Yard, Outdoor, and Other.
- Level (Tier 2): Vertical floor or deck within a facility. Uses an ordinal number (0 for ground, positive for upper floors, negative for basements) and a short name label such as G, L1, or B1.
- Space (Tier 3): Specific room, office, bay, corridor, or plant room on a level. Supported space categories include Room, Office, Bay, Corridor, Plant, and Other.
Adding and drawing locations
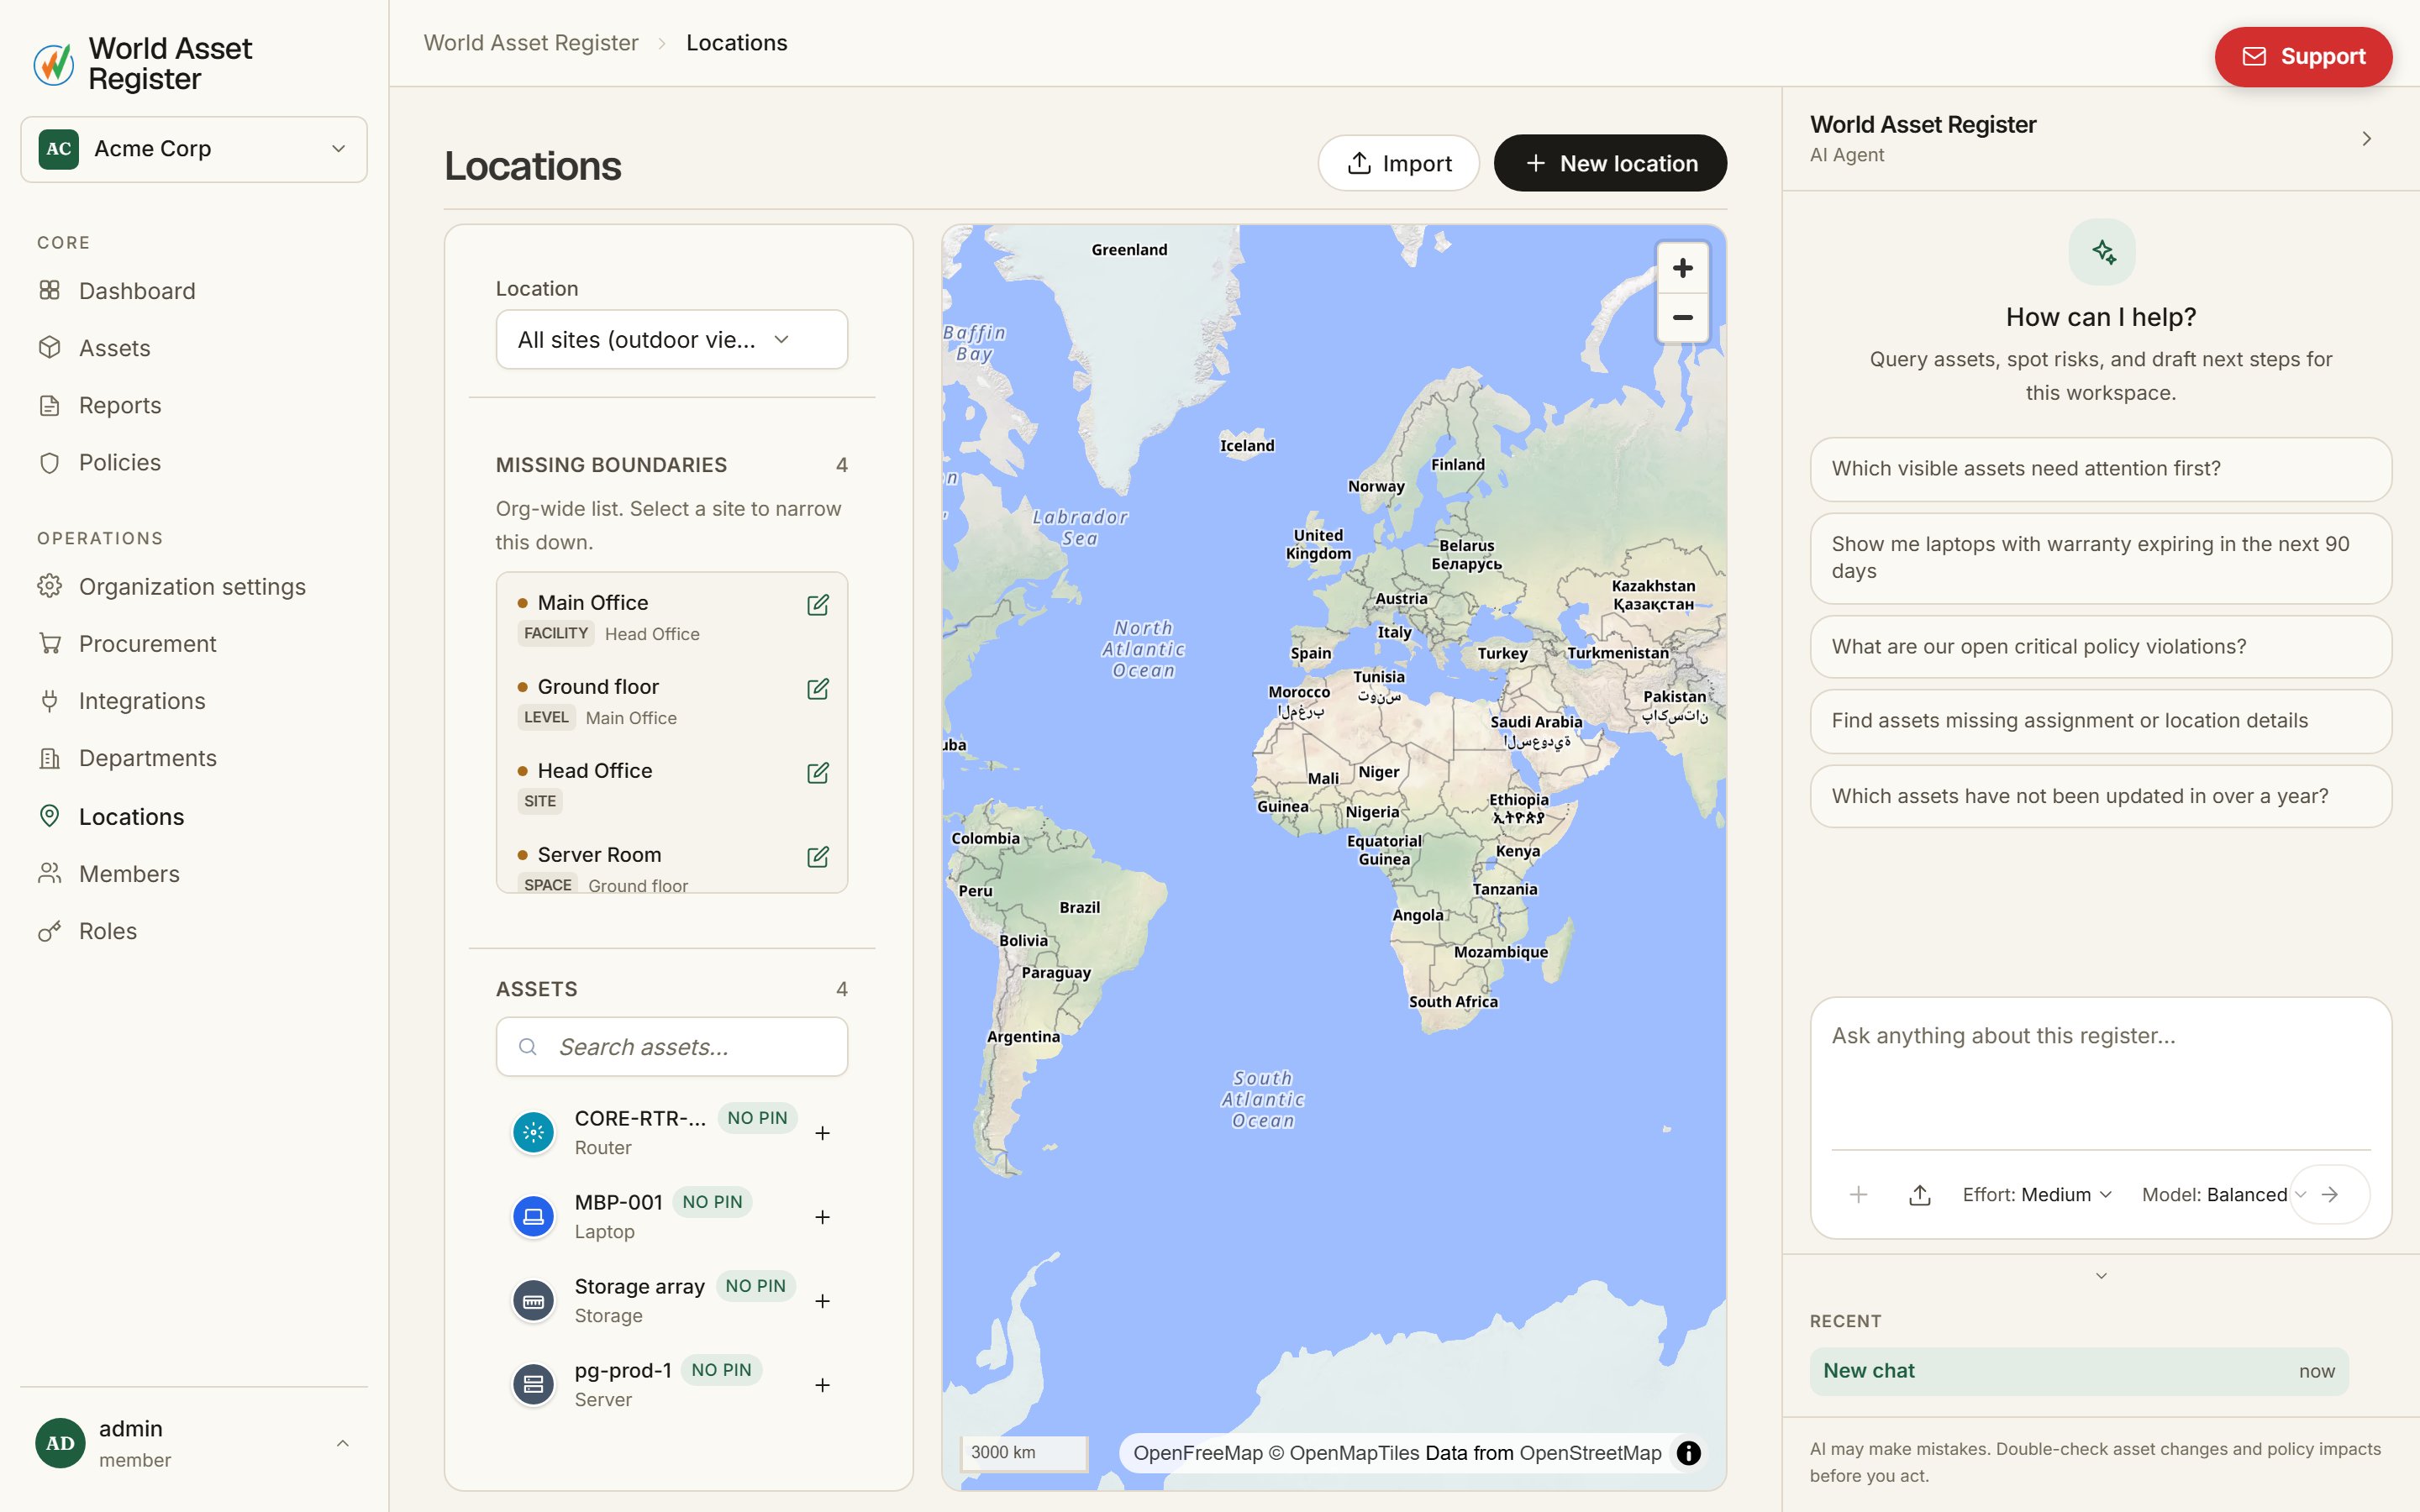
Create new locations directly from the interactive map interface:- Click New location in the top action bar.
- Select the location tier kind and category.
- Draw the location footprint or boundary on the map canvas, or specify street address details.
- Save the location.
Interactive map and floor plans
The map canvas provides a visual overview of all sites, facilities, and placed assets.- Level Switcher: Select a facility to display its vertical levels. Use the level switcher control to filter the map view to a single floor.
- Floor Plan Overlays: Upload raster floor plan images (PNG, JPEG, PDF) for any level. Adjust opacity, scale, rotation, and corner positions to georeference the plan onto world coordinates.
- CAD Space Extraction: Import room outlines directly from DXF CAD files. AI layer assistance scans layer entity counts to suggest room boundary layers automatically.
Asset pins and spatial placement
Place assets precisely on floor plans and map canvas layers:- Pick an asset from the panel beside the map, then click the map to place its pin.
- View indoor placement coordinates, accuracy radius, and level assignments for placed assets.
- Placing several assets at once is also possible from bulk editing: select the assets in the register, then use the Location field’s Place on map action to give them all one shared pin in a single click.
Expected asset count
Every location can record an expected asset count. This represents the intended inventory capacity for that space based on floor plans or lease agreements. Comparing actual assets in the register against the expected count reveals missing or extra inventory at a glance. You can also configure a policy to automatically alert team members when asset counts diverge.Bulk location import
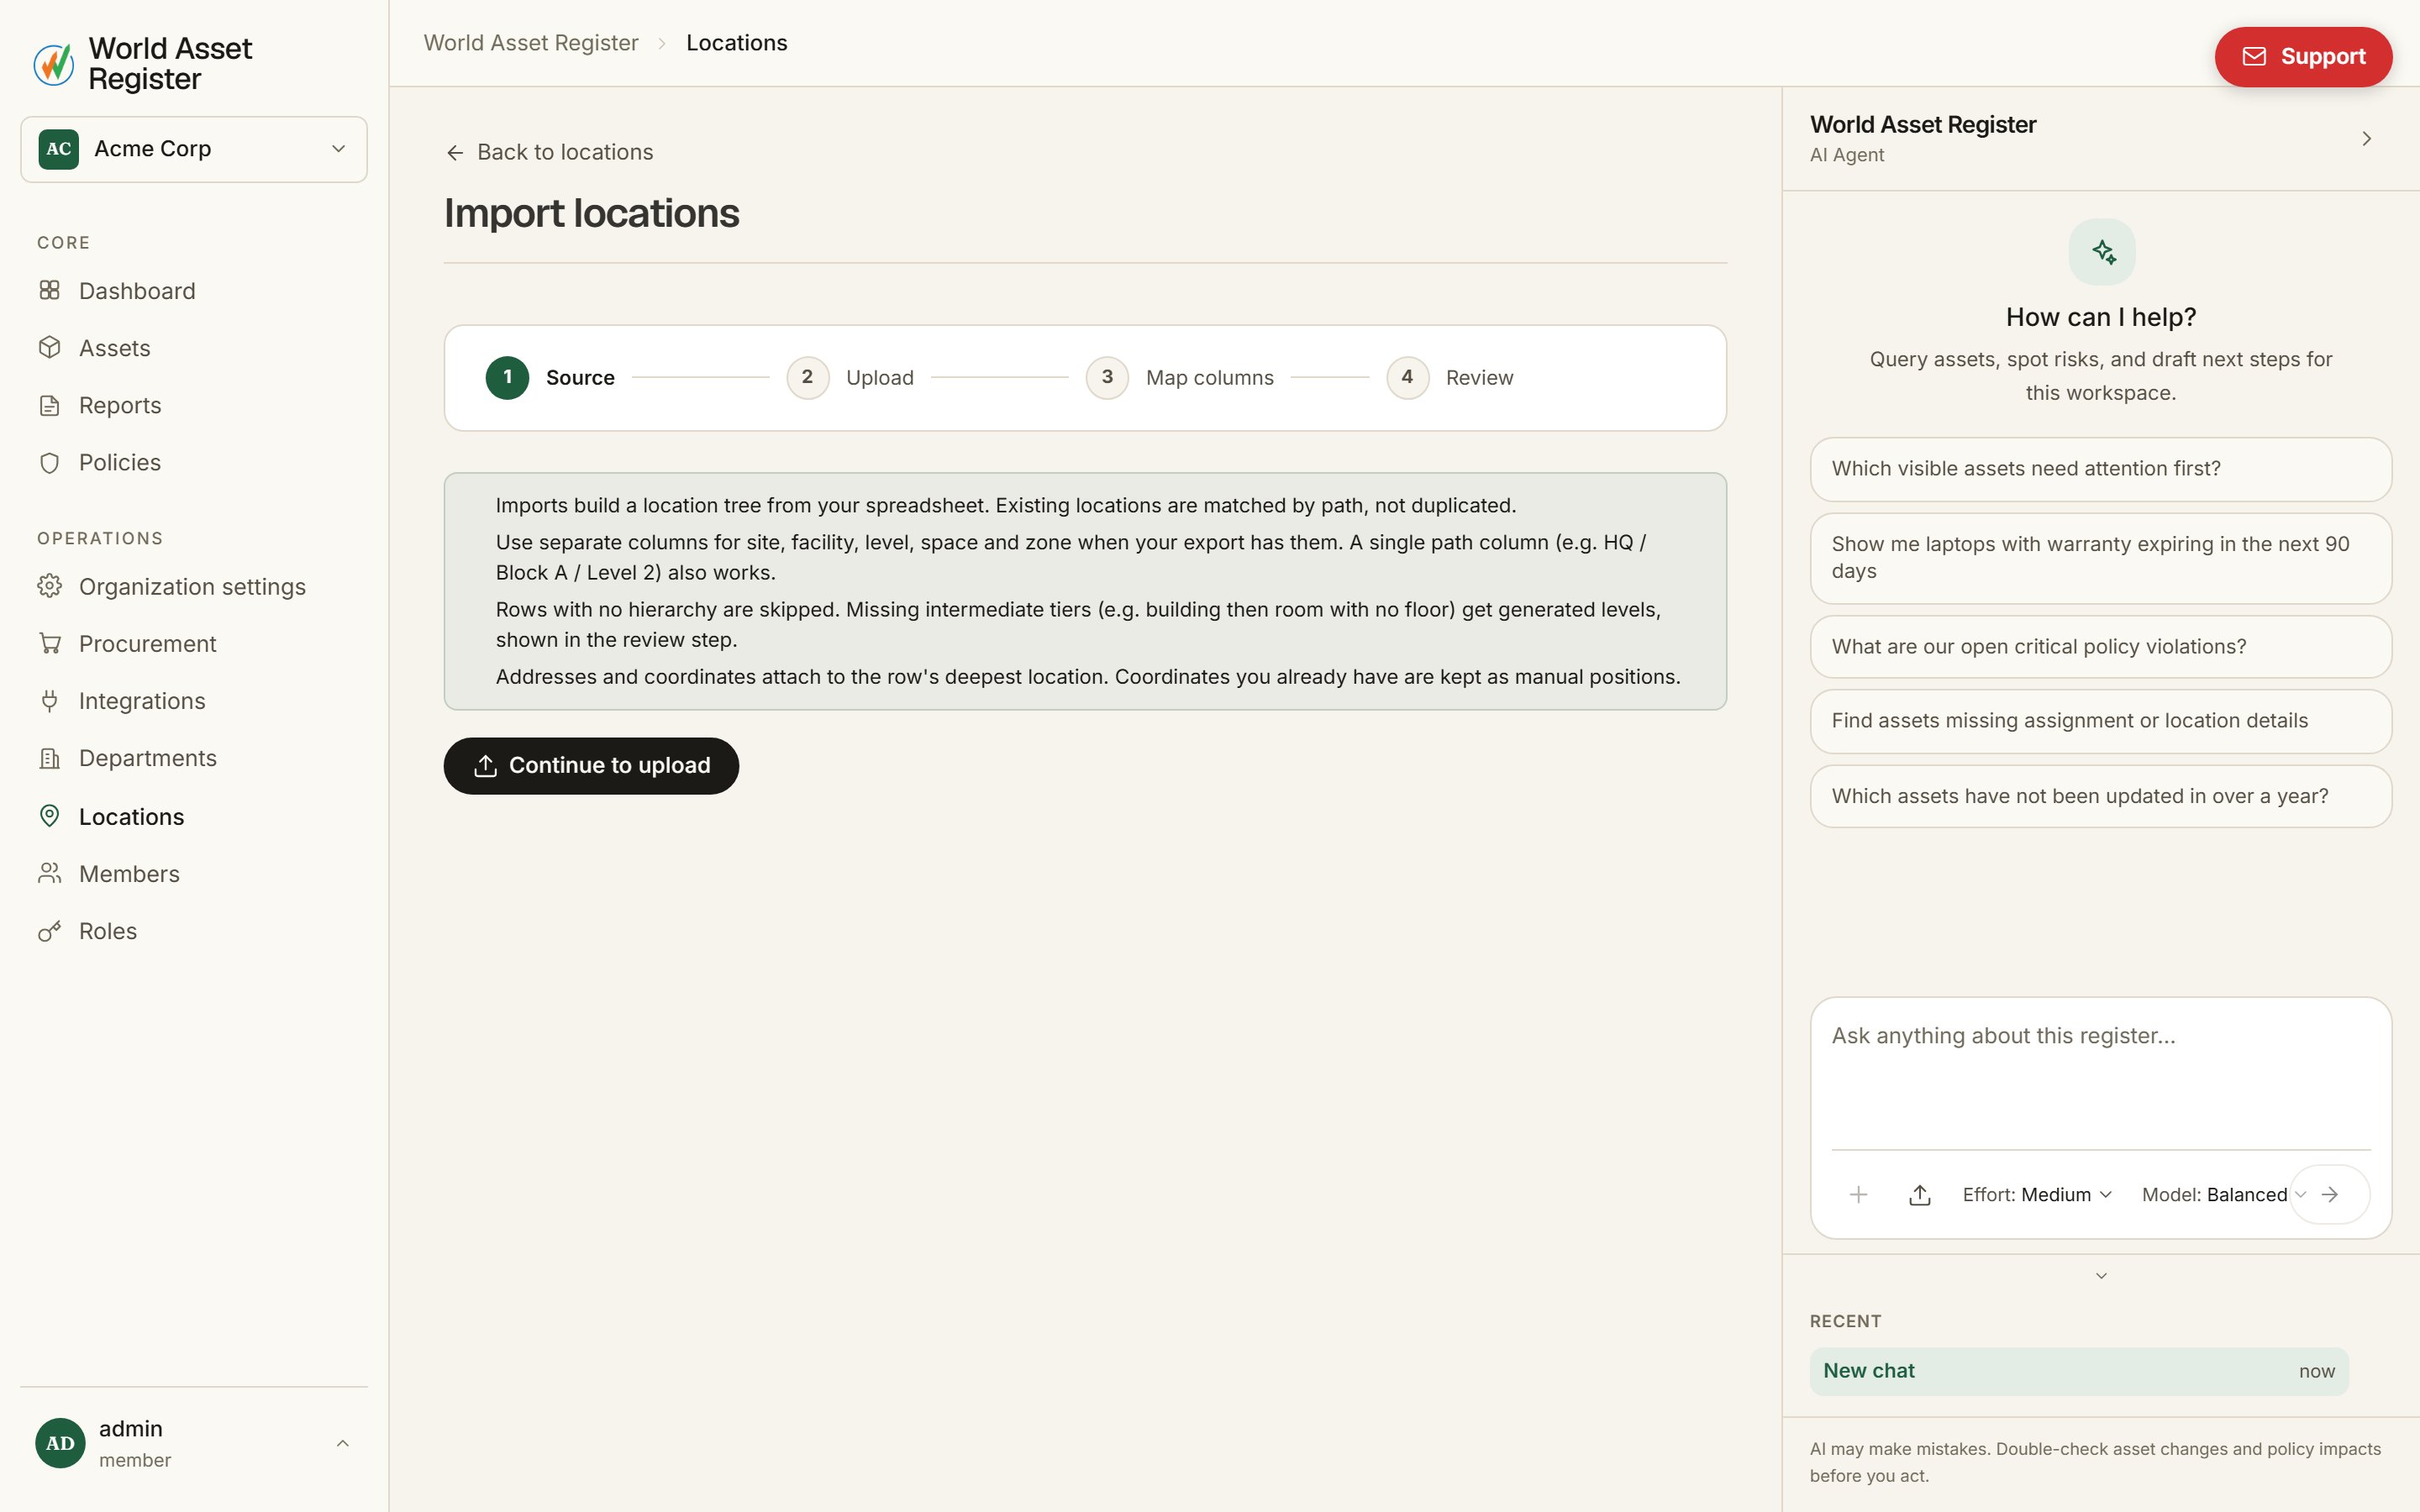
Import large location hierarchies from CSV or Excel spreadsheets:- Click Import on the Locations page to open the importer at
/locations/import. - Upload your file. The analyzer automatically detects path tiers and column mappings.
- Review the dry-run summary to check hierarchy parents and generated spaces before committing.