
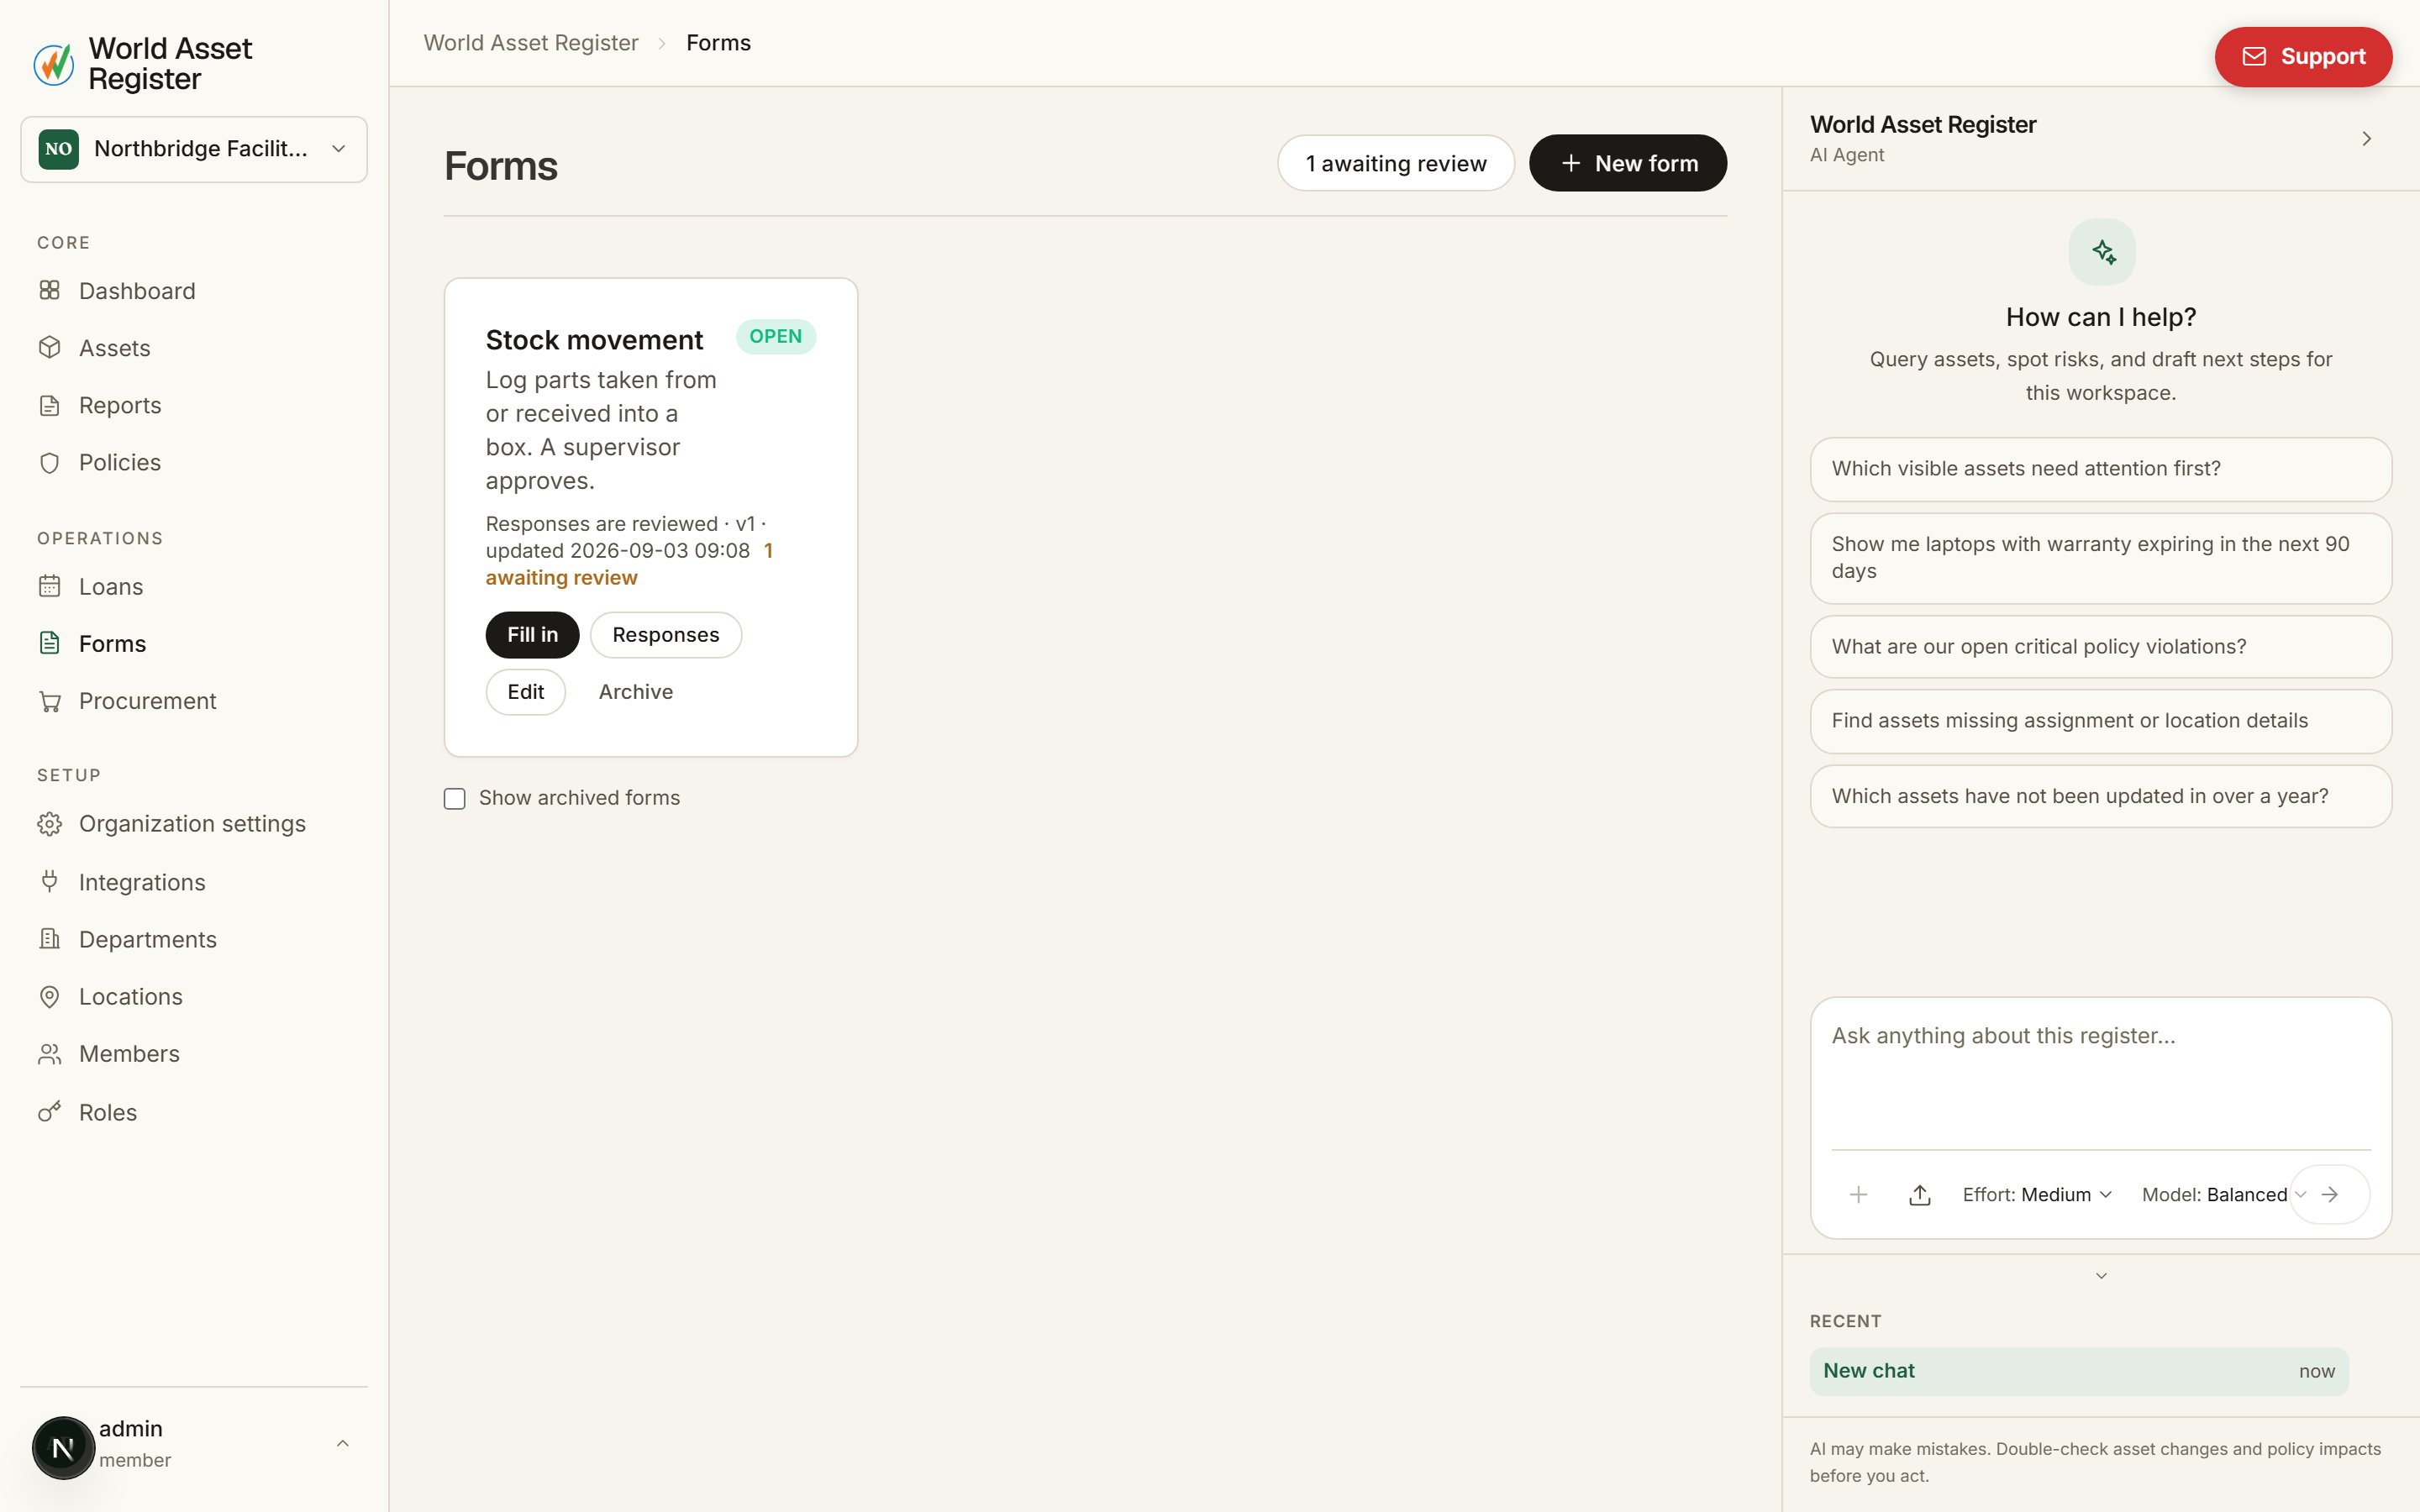
Who can do what
- Fill in forms (
forms.respond): see open forms and submit them for any asset you can see. Requesters, Operators and Managers have this by default. - Review responses (
forms.review): see every response and approve or reject the ones waiting. Operators and Managers. - Manage forms (
forms.manage): build, publish and archive forms. Managers and Admins.
Building a form
Go to Forms in the sidebar and click New form. A form has a name, an optional description, and a list of asset sections with instructions wherever they help. An asset section is the unit of a form: a picker that asks which asset the section is about, and underneath it the fields to change on that asset.- Asset section: give the picker a label (“Which laptop?”) and, optionally, limit it to a category and its sub-categories. Untick Required question to make a section optional, so a respondent can skip it. A red asterisk marks everything a form needs before it can be published.
- Set a field (inside a section): writes one value to a field on the asset picked in that section. Any text, number, date, yes/no, select or multi-select field on the asset’s category can be set this way. Money fields take an amount and a currency.
- Instructions: a heading and some text. They can sit between sections or inside one, above the field they explain.
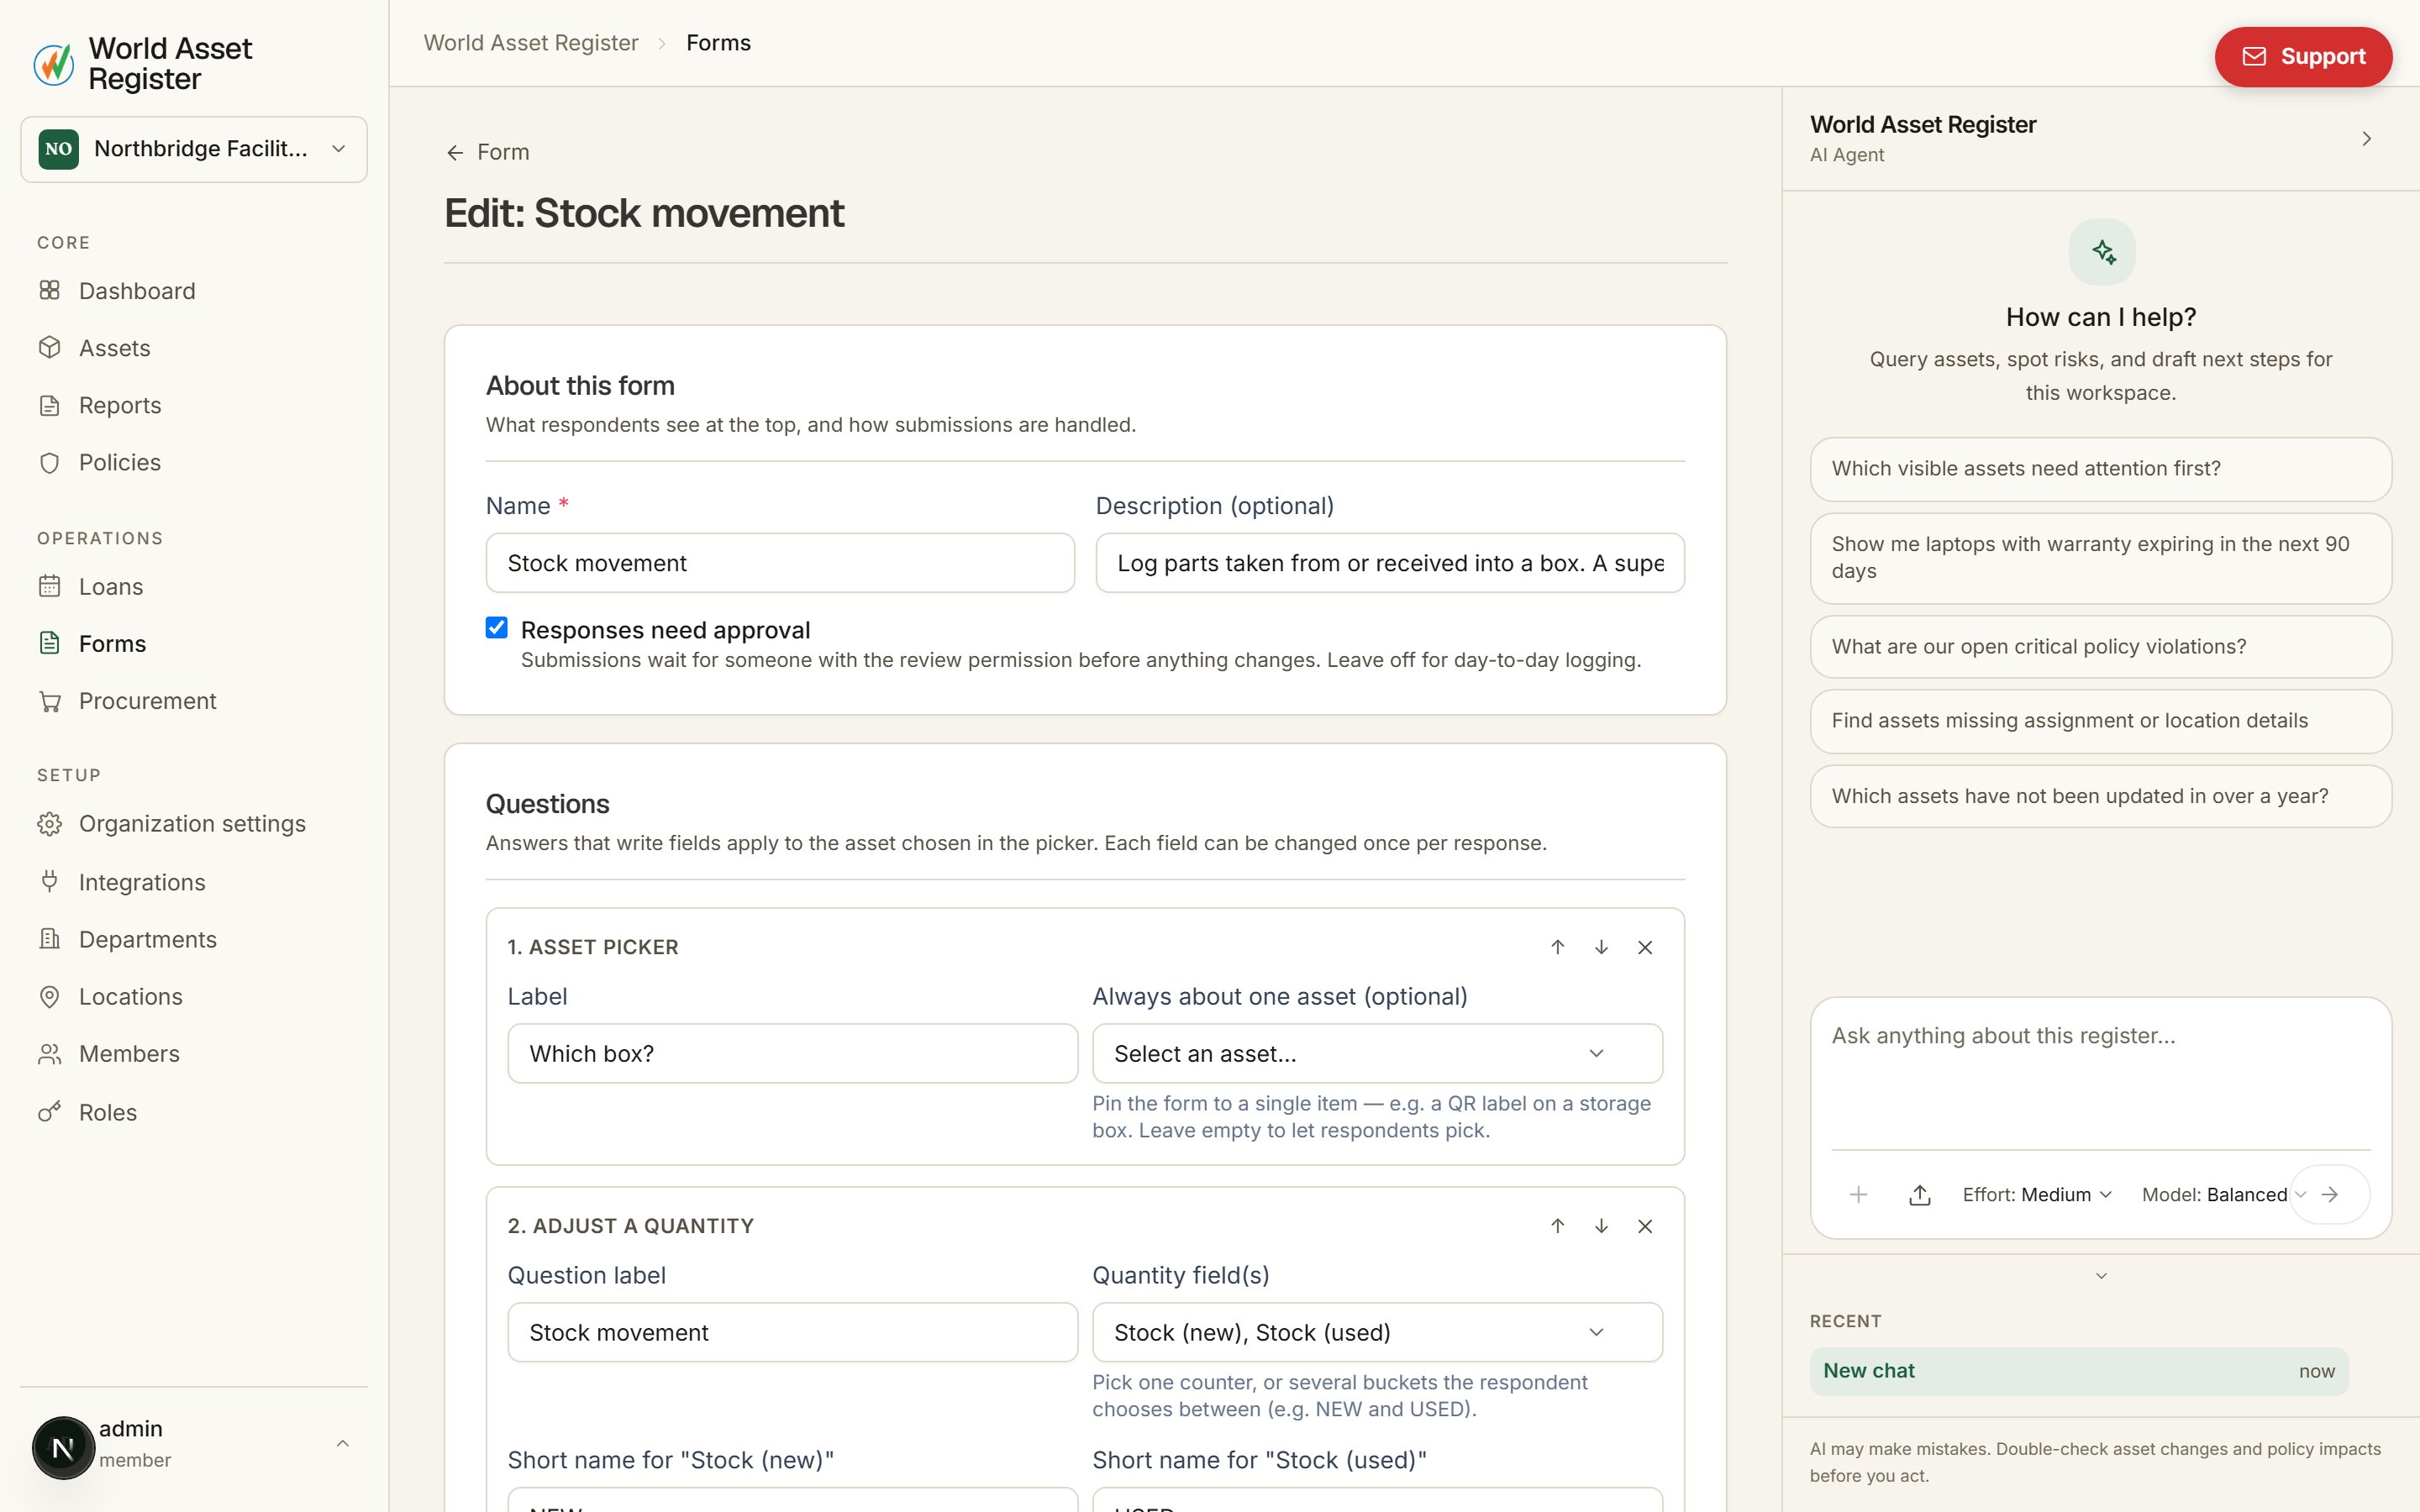
? you can hover for what it does.
Save draft keeps the form private. Save & publish makes it
available to everyone who can fill in forms. Editing a published form
changes the draft only; respondents keep answering the published version
until you publish again, and every response remembers which version it
answered.
Filling one in
Open Forms, pick the form, and the sections appear in order. In each section choose the asset, then fill in the fields beneath it. The picker only lists assets that have those fields. Each field starts from what the asset holds now, so you can see what you are changing, and a multi-select keeps its existing ticks when you add one. A field you leave as it is changes nothing.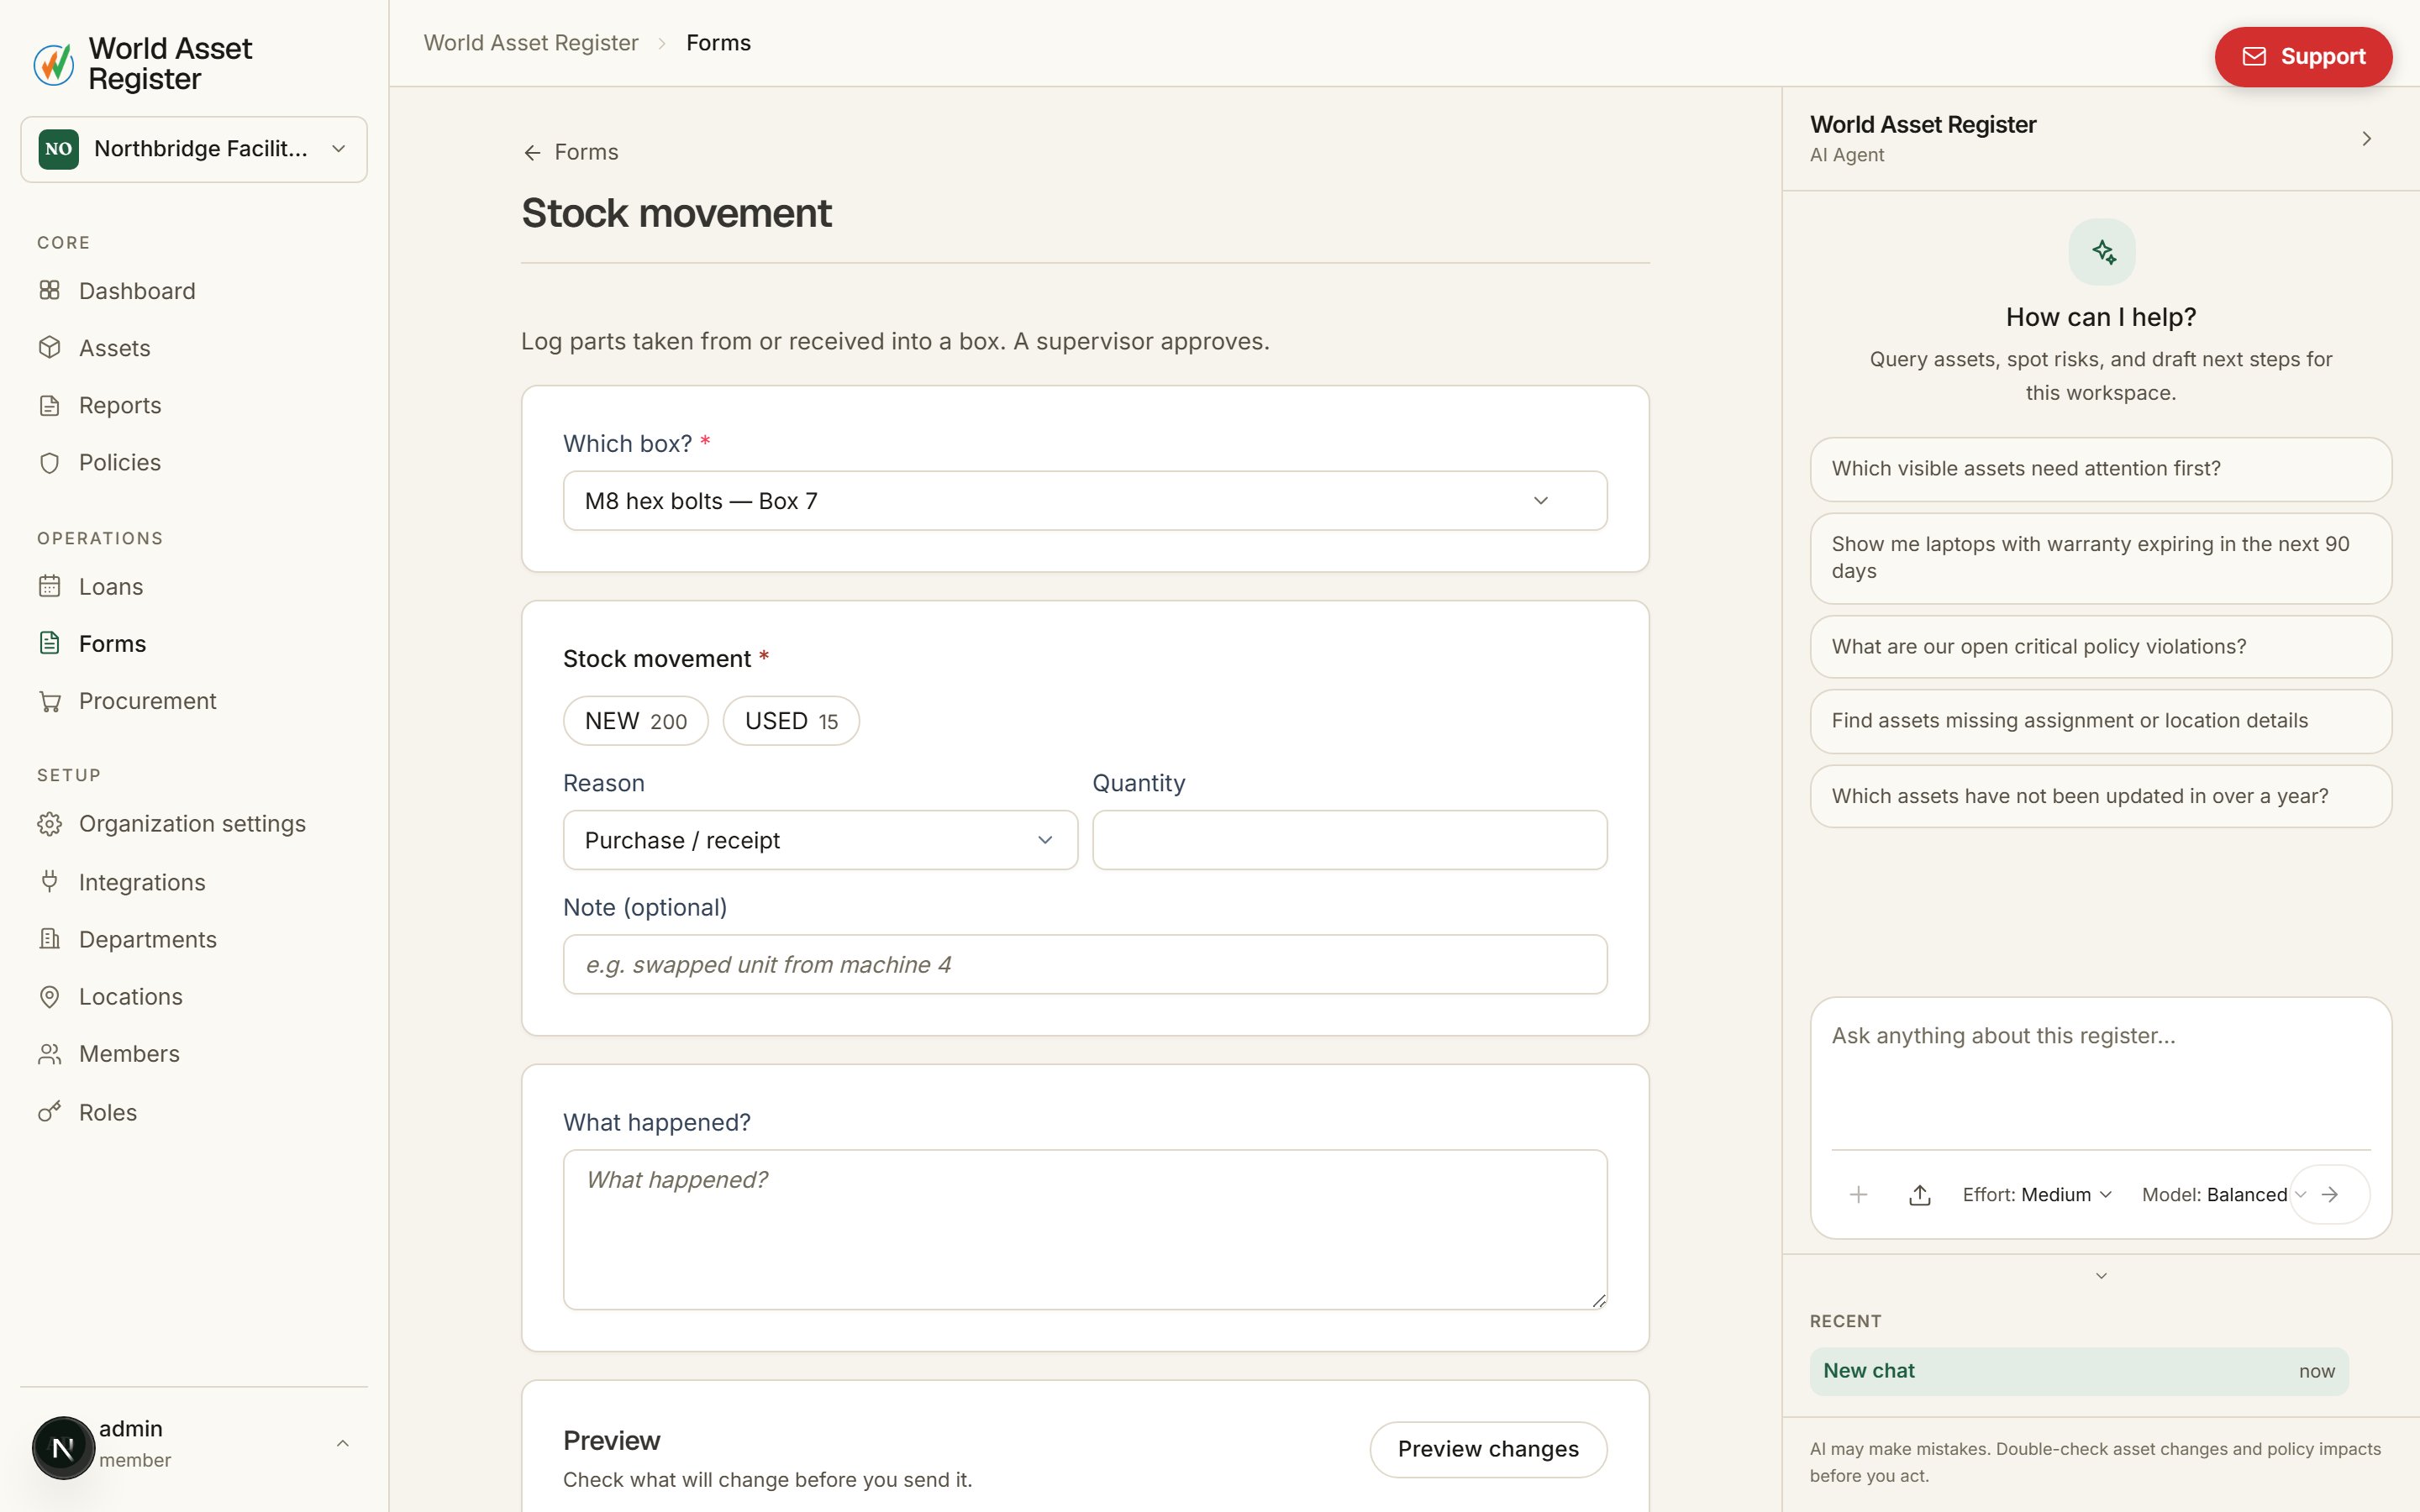
From an asset
On any asset’s page, Fill in a form lists the open forms that fit that asset. Pick one and the asset is already chosen, in the first section whose category rule accepts it. The fill page also accepts an asset in its address, so a printed QR code can point straight at the form for that asset.On the phone
The mobile app has the same Forms tile on its home screen and the same Fill in a form card on every asset. The flow matches the web: pick the asset, answer, submit.Reviewing responses
A form’s page lists every response with what it changed and who sent it. Forms that need approval show how many are waiting, on the form and on the Forms page. Open a waiting response, check the changes, and Approve or Reject, with a note if you like. The asset’s timeline shows the submission as awaiting review until then, and afterwards either the applied change or the rejection.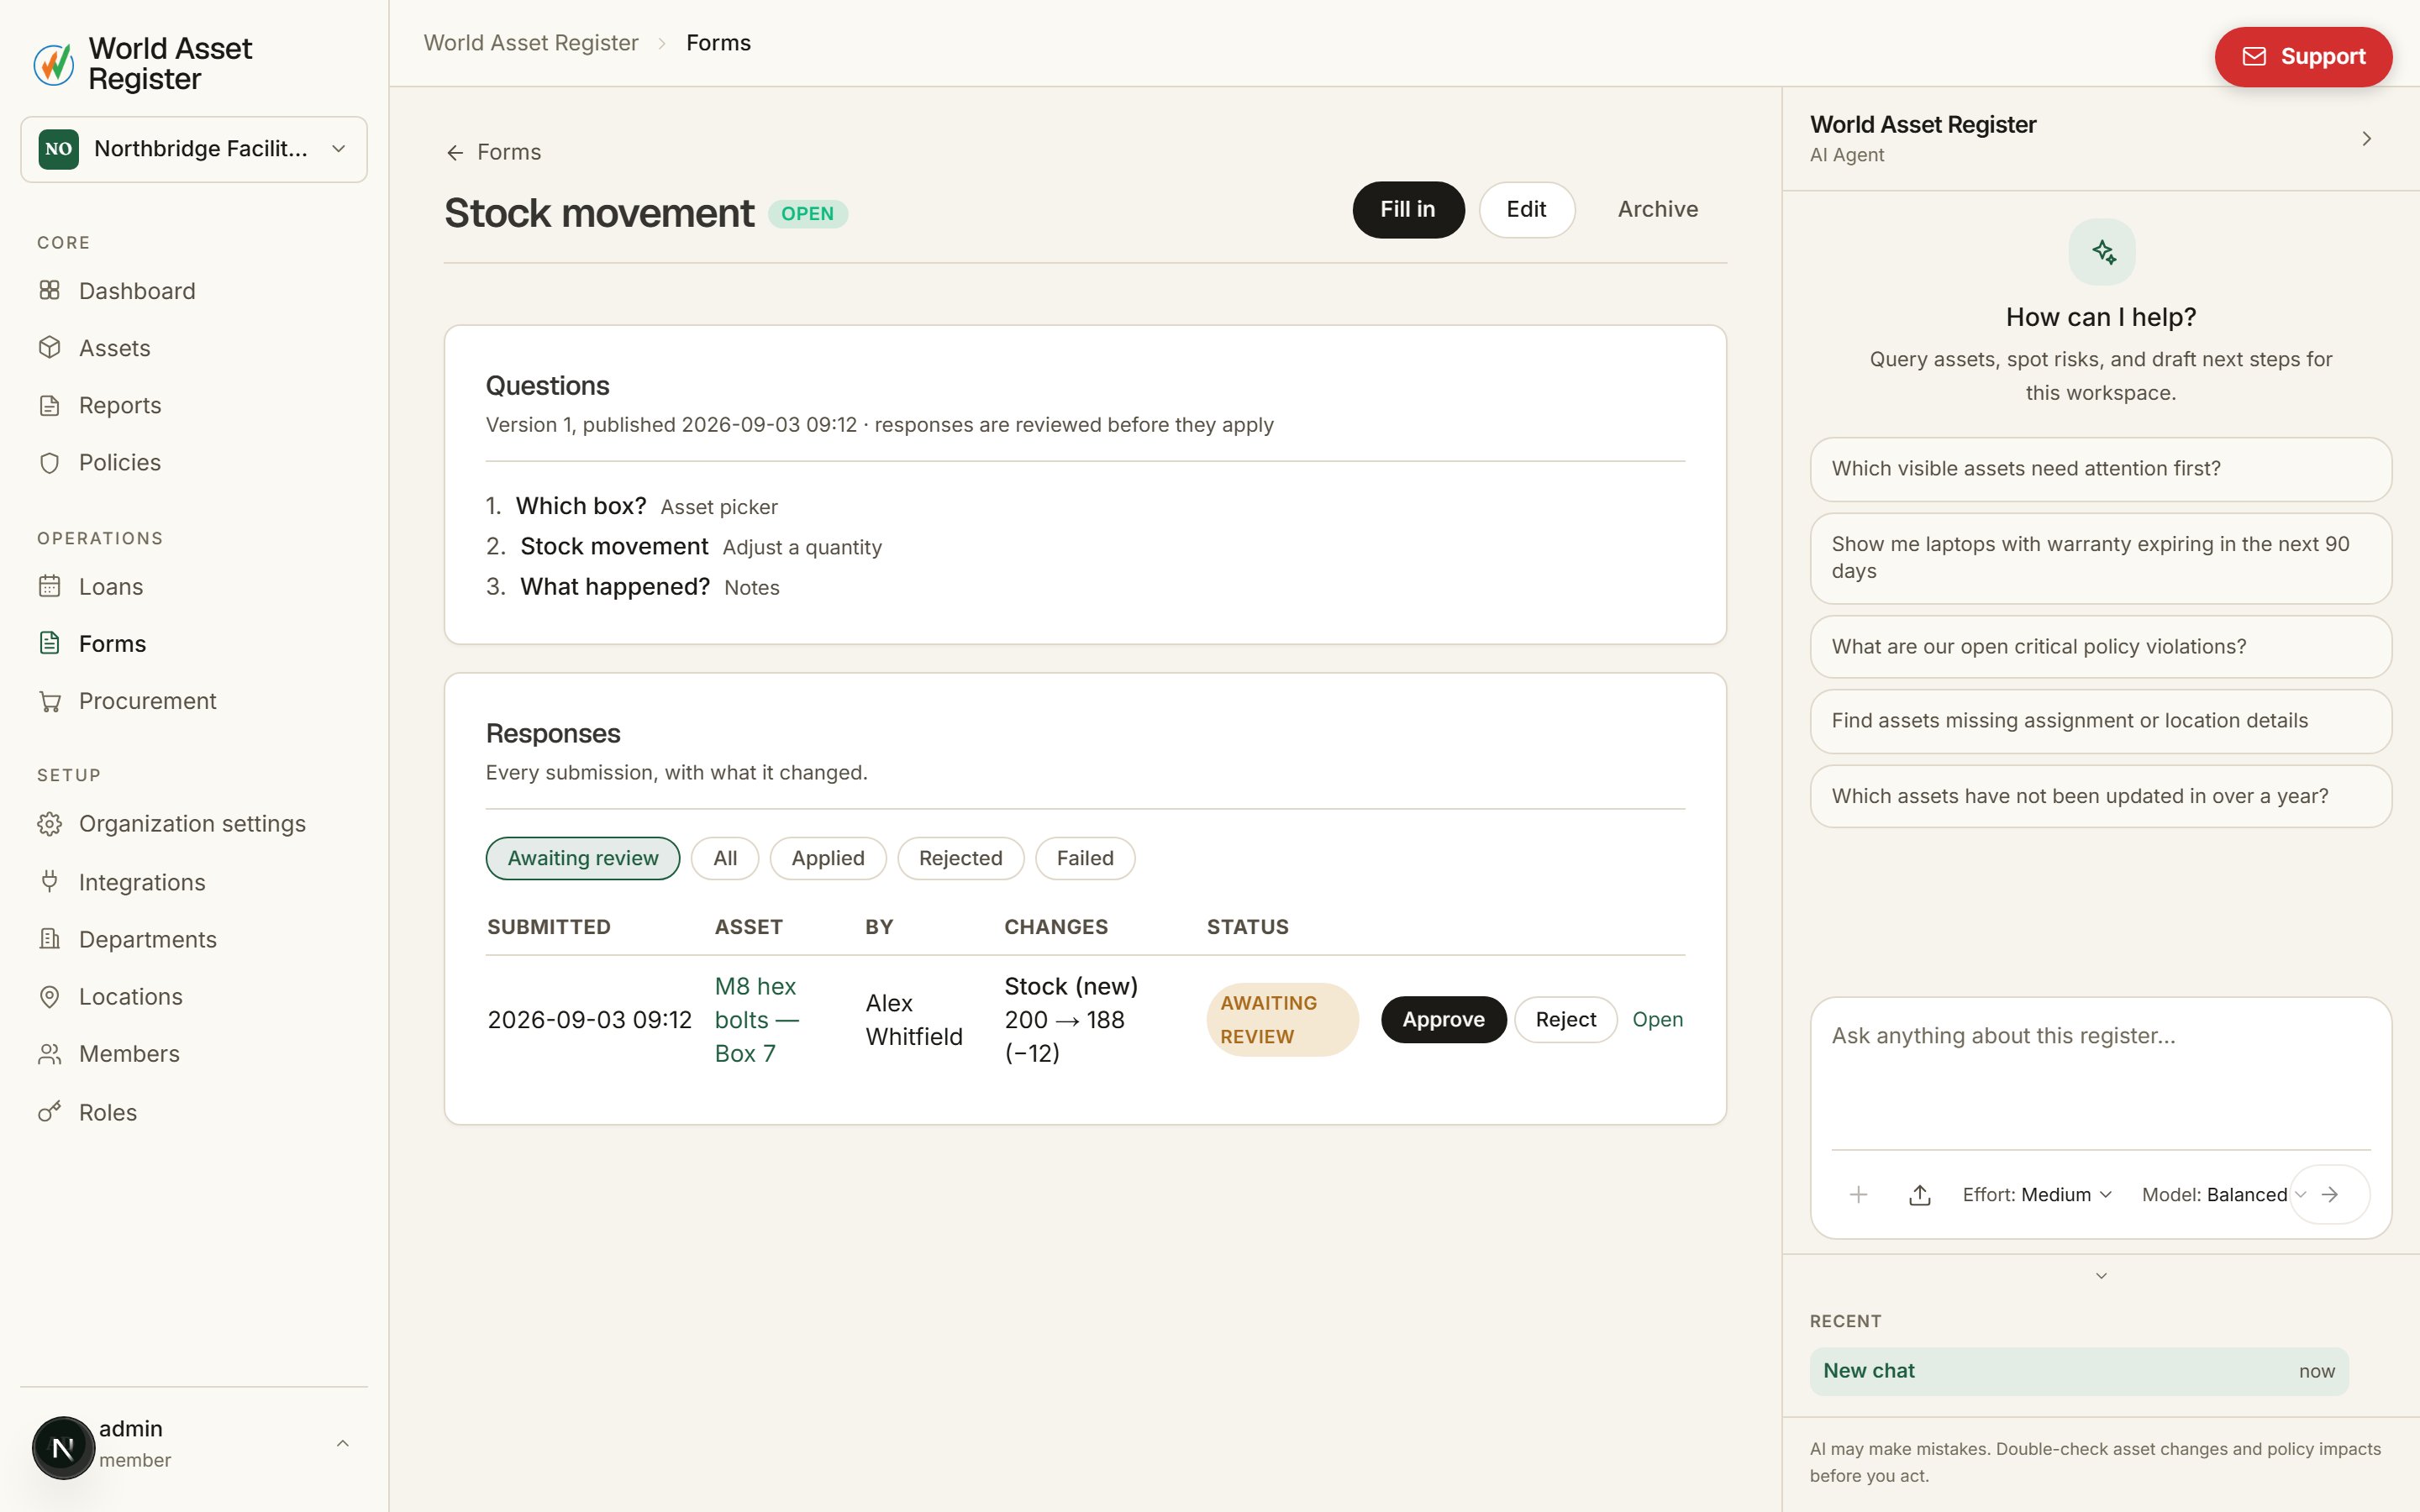
Good forms to start with
- Shelf count: one section limited to Consumable parts, setting the stock count field, no approval.
- Condition check: one section with no category, setting Condition, so it works for any asset that has that field.
- Swap-out: two sections (“the unit coming out” and “the unit going in”), each setting Lifecycle stage, approval on.