> ## Documentation Index
> Fetch the complete documentation index at: https://docs.worldassetregister.com/llms.txt
> Use this file to discover all available pages before exploring further.
# Getting started
> From signing in to a working register in about fifteen minutes
This chapter takes you from a fresh account to a small working register:
you'll sign in, set up an organisation, add an asset by hand, import a
spreadsheet, and invite a teammate.
## Sign in
Go to [worldassetregister.com](https://worldassetregister.com) and choose
**Sign in**. If a colleague invited you, use the link in the invitation
email instead. It signs you in and drops you straight into their
organisation.
## Your organisation and workspaces
Everything in World Asset Register belongs to an **organisation**. If
you're the first person from your company here, you'll be asked to create
one. Pick the name your team actually uses day to day.
If you belong to several organisations (for example a parent company and a
subsidiary), the workspace switcher in the sidebar moves between them. Each
organisation's data is completely separate.
## The dashboard
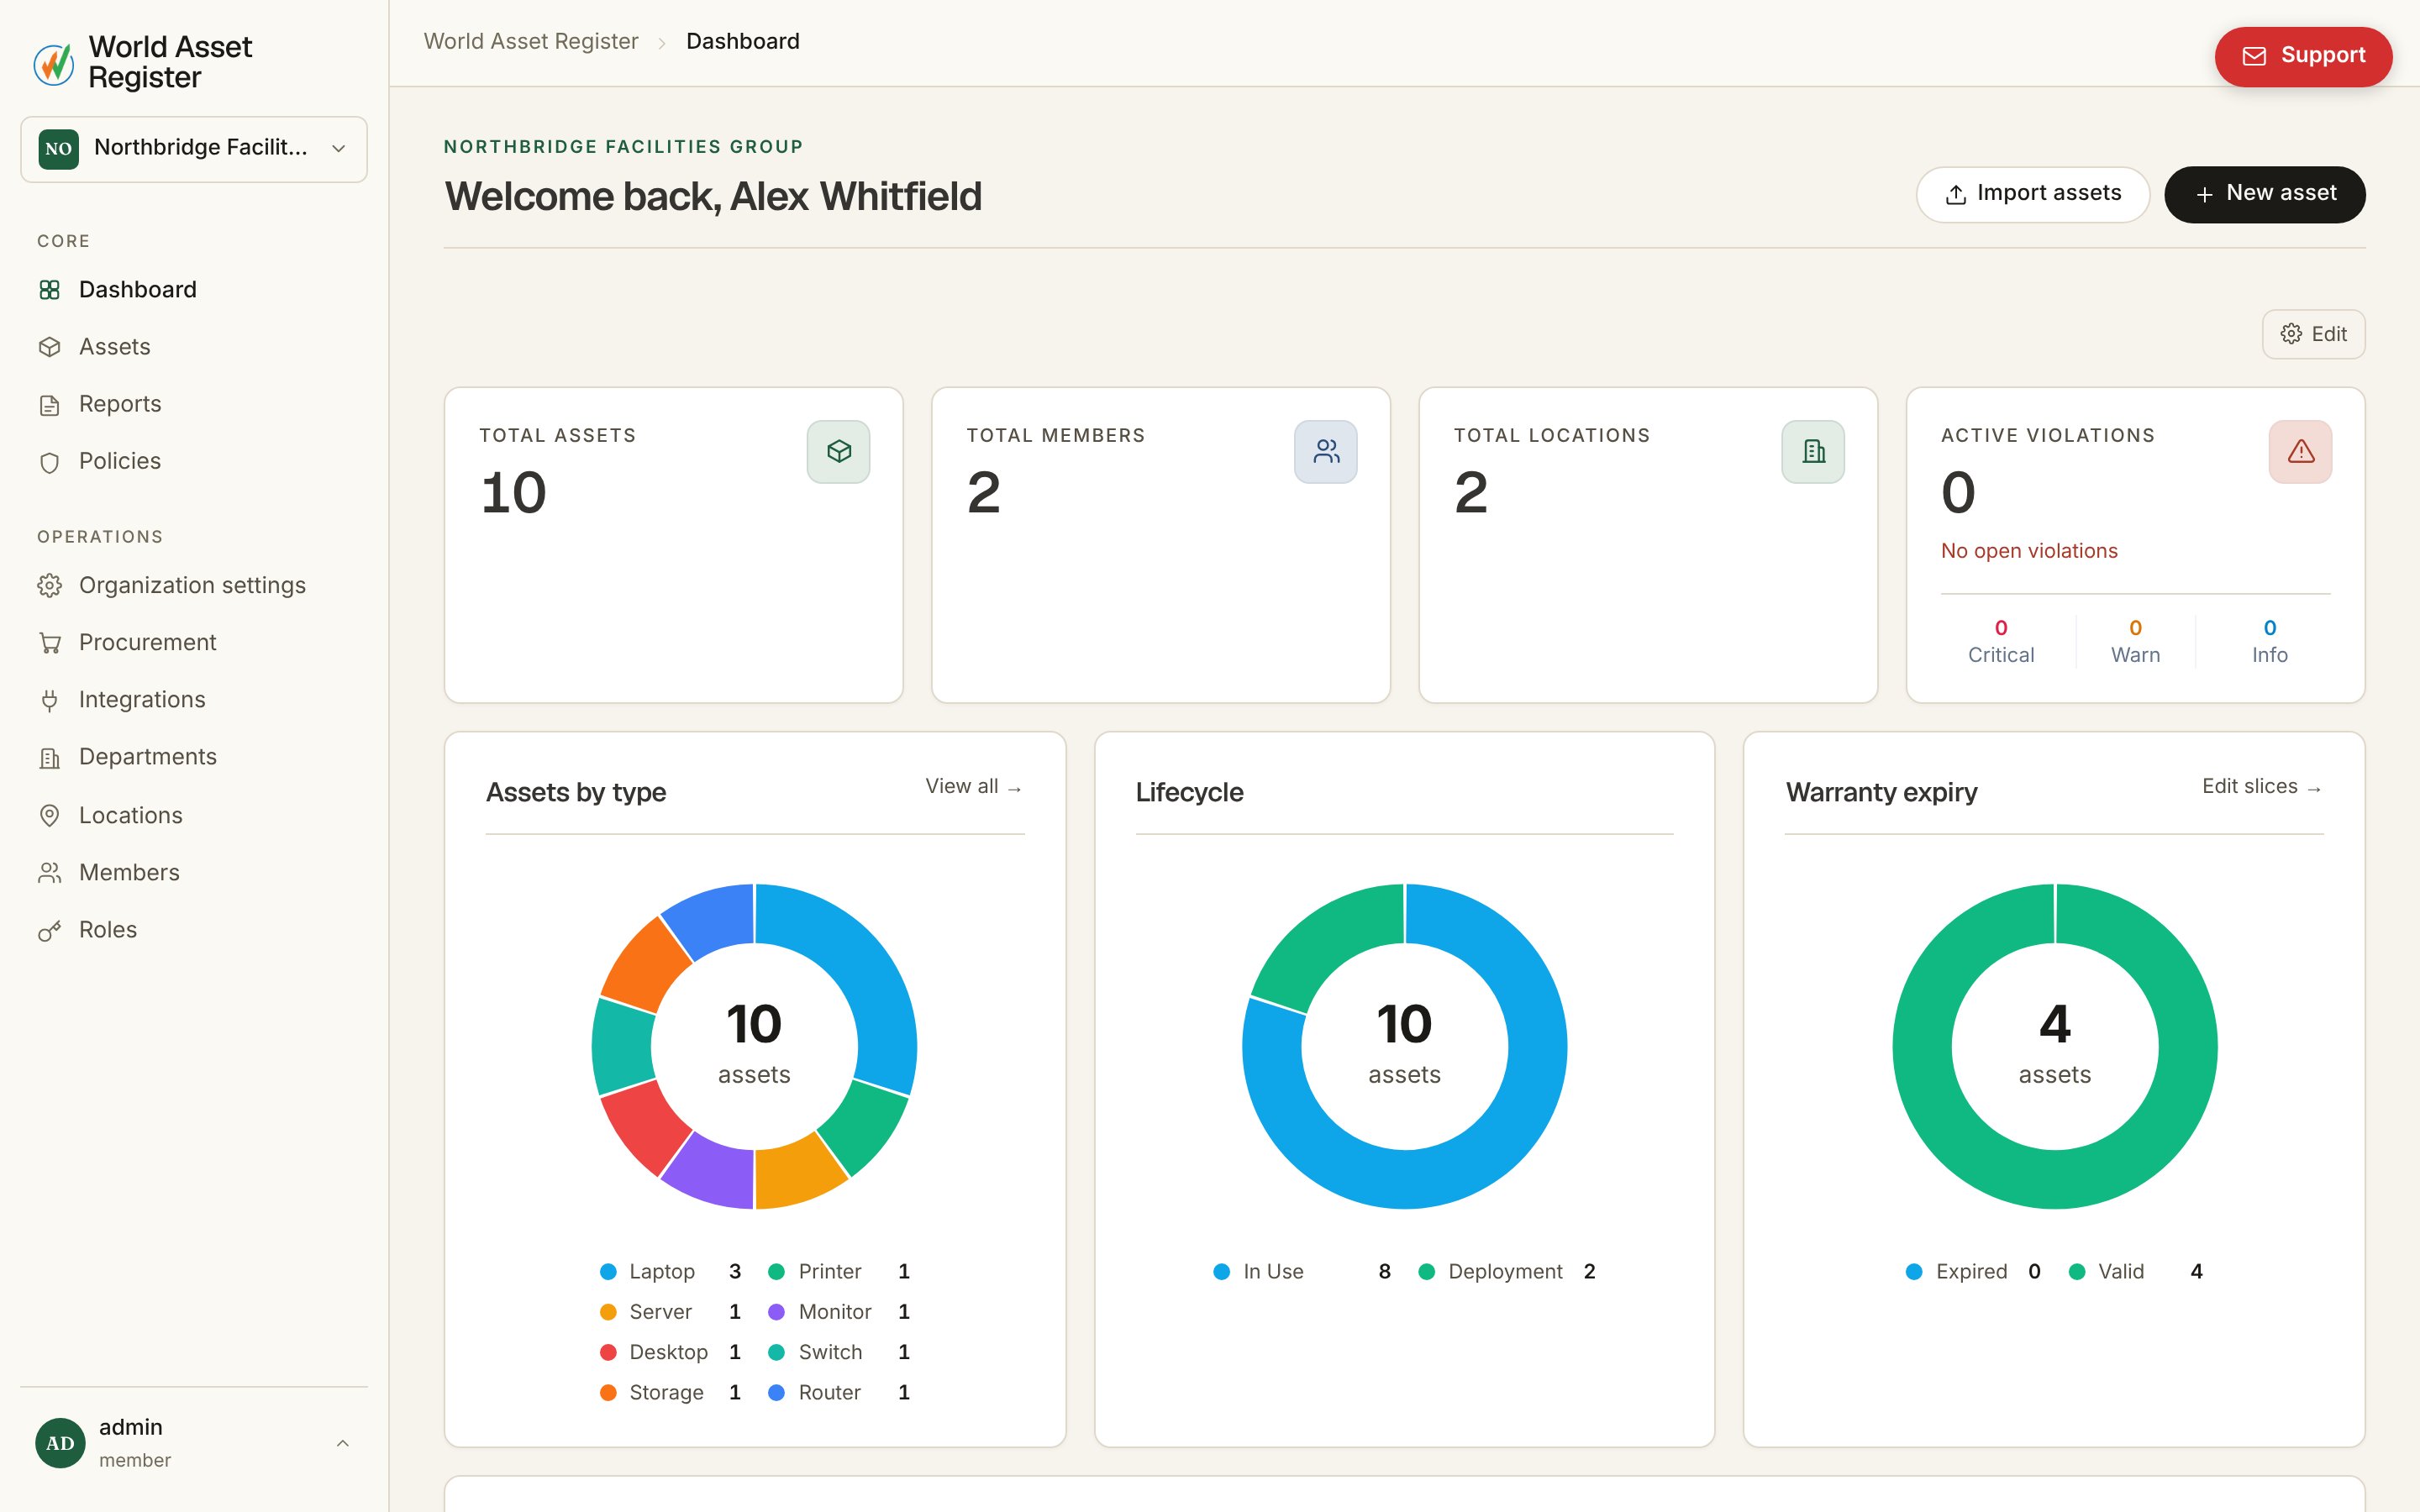 The dashboard is the landing page for your organisation. It shows headline
counts, recent activity, and shortcuts into the areas of the product you
use most. It fills in as your register grows. A brand-new organisation
will look sparse, and that's normal.
## Add your first asset
Open **Assets** in the sidebar and choose **Add asset**.
The dashboard is the landing page for your organisation. It shows headline
counts, recent activity, and shortcuts into the areas of the product you
use most. It fills in as your register grows. A brand-new organisation
will look sparse, and that's normal.
## Add your first asset
Open **Assets** in the sidebar and choose **Add asset**.
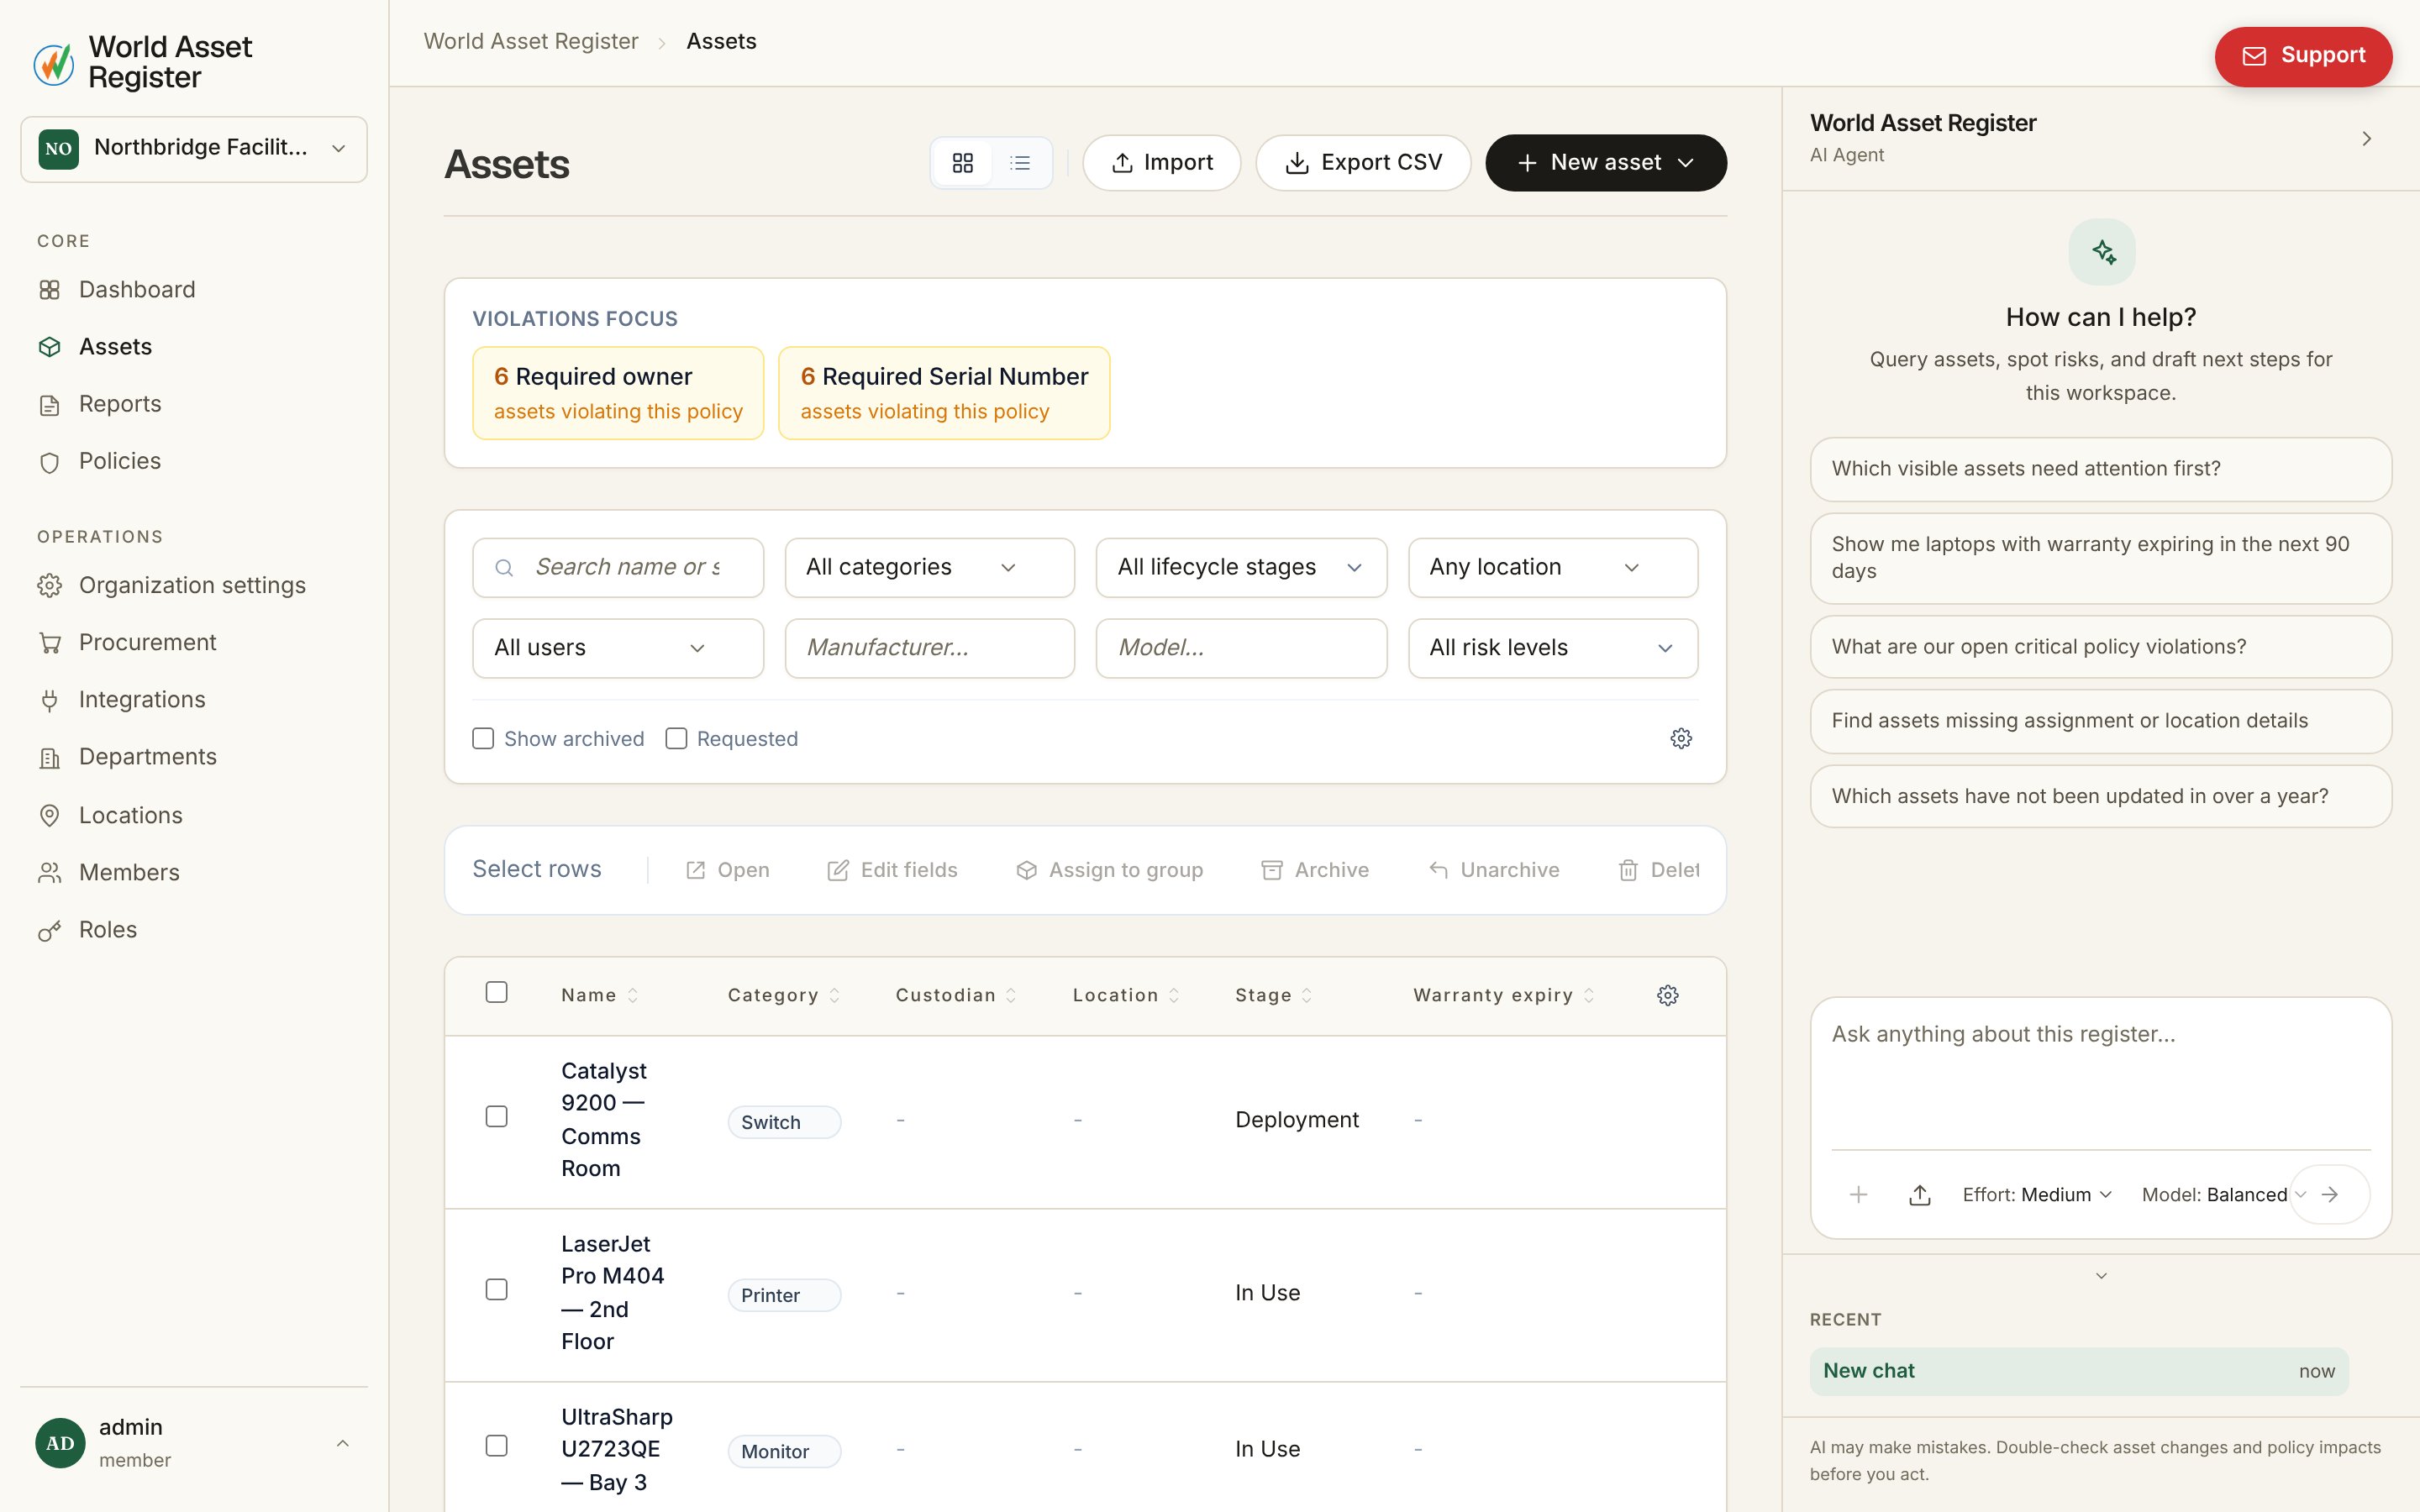 Three things matter on this form:
* **Name**: what your team calls the thing. You can be loose here. The
register is searchable.
* **Category**: what kind of thing it is. The category decides which
fields the asset carries (a vehicle has an odometer, a laptop has a
serial number), so pick the closest match. You can refine categories
later. See [Categories and fields](/setup/categories-and-fields).
* **Everything else is optional.** Location, owner, purchase details and
photos can all be added now or later. The save button follows you as you
fill things in, so you can save at any point and keep editing.
## Import a spreadsheet
Nobody types in five hundred assets. If your register currently lives in a
spreadsheet, open **Assets → Import** and upload it (CSV and Excel both
work). The importer walks you through matching your columns to fields and
shows a full **preview of exactly what will be created or updated before
anything is committed**. It also flags rows it isn't sure about. Large
files run in the background with a progress bar, so you can leave the
page.
The full walkthrough, including how re-imports update existing assets
instead of duplicating them, is in
[Importing data](/assets/importing-data).
## Invite your team
Open **Members** and choose **Invite**. Every member gets one or more
**roles**, and roles decide what a member can see and do. Viewers can
look, custodians can update what they hold, admins can change anything.
Roles and permissions are covered properly in
[Roles and permissions](/setup/roles-and-permissions).
## If you get stuck
The built-in **AI assistant** (the panel on the right of the app) can
answer questions about your own data, like "which laptops are unassigned?"
It can also make changes for you with your permission. It's often the
fastest way to learn what the product can do. See
[The AI assistant](/connect/ai-assistant).
Three things matter on this form:
* **Name**: what your team calls the thing. You can be loose here. The
register is searchable.
* **Category**: what kind of thing it is. The category decides which
fields the asset carries (a vehicle has an odometer, a laptop has a
serial number), so pick the closest match. You can refine categories
later. See [Categories and fields](/setup/categories-and-fields).
* **Everything else is optional.** Location, owner, purchase details and
photos can all be added now or later. The save button follows you as you
fill things in, so you can save at any point and keep editing.
## Import a spreadsheet
Nobody types in five hundred assets. If your register currently lives in a
spreadsheet, open **Assets → Import** and upload it (CSV and Excel both
work). The importer walks you through matching your columns to fields and
shows a full **preview of exactly what will be created or updated before
anything is committed**. It also flags rows it isn't sure about. Large
files run in the background with a progress bar, so you can leave the
page.
The full walkthrough, including how re-imports update existing assets
instead of duplicating them, is in
[Importing data](/assets/importing-data).
## Invite your team
Open **Members** and choose **Invite**. Every member gets one or more
**roles**, and roles decide what a member can see and do. Viewers can
look, custodians can update what they hold, admins can change anything.
Roles and permissions are covered properly in
[Roles and permissions](/setup/roles-and-permissions).
## If you get stuck
The built-in **AI assistant** (the panel on the right of the app) can
answer questions about your own data, like "which laptops are unassigned?"
It can also make changes for you with your permission. It's often the
fastest way to learn what the product can do. See
[The AI assistant](/connect/ai-assistant).